

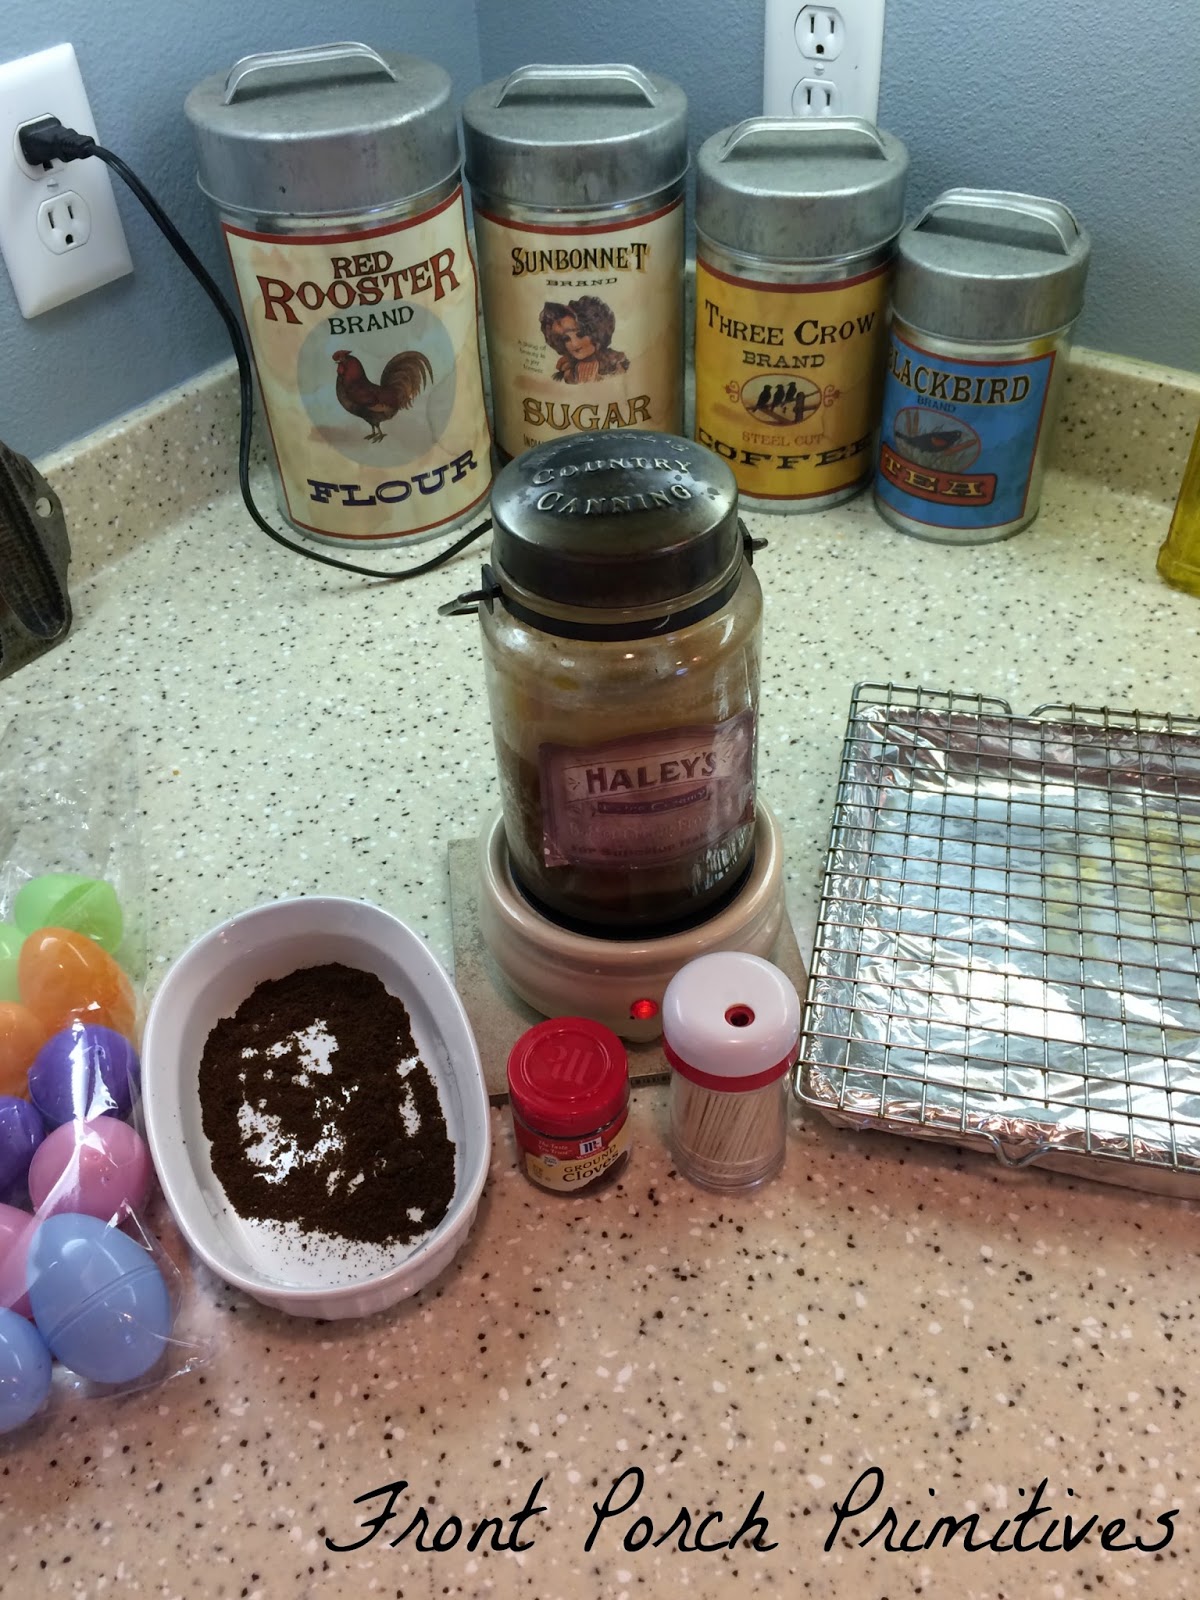
You are going to need plastic easter eggs that have the holes in the top or bottom, ground cloves, toothpicks, a small dish, melted wax (preferably a wax that is white, tan, or brown), a cooling rack with something under it. I also found later that I needed cotton swabs and a fine sifter.
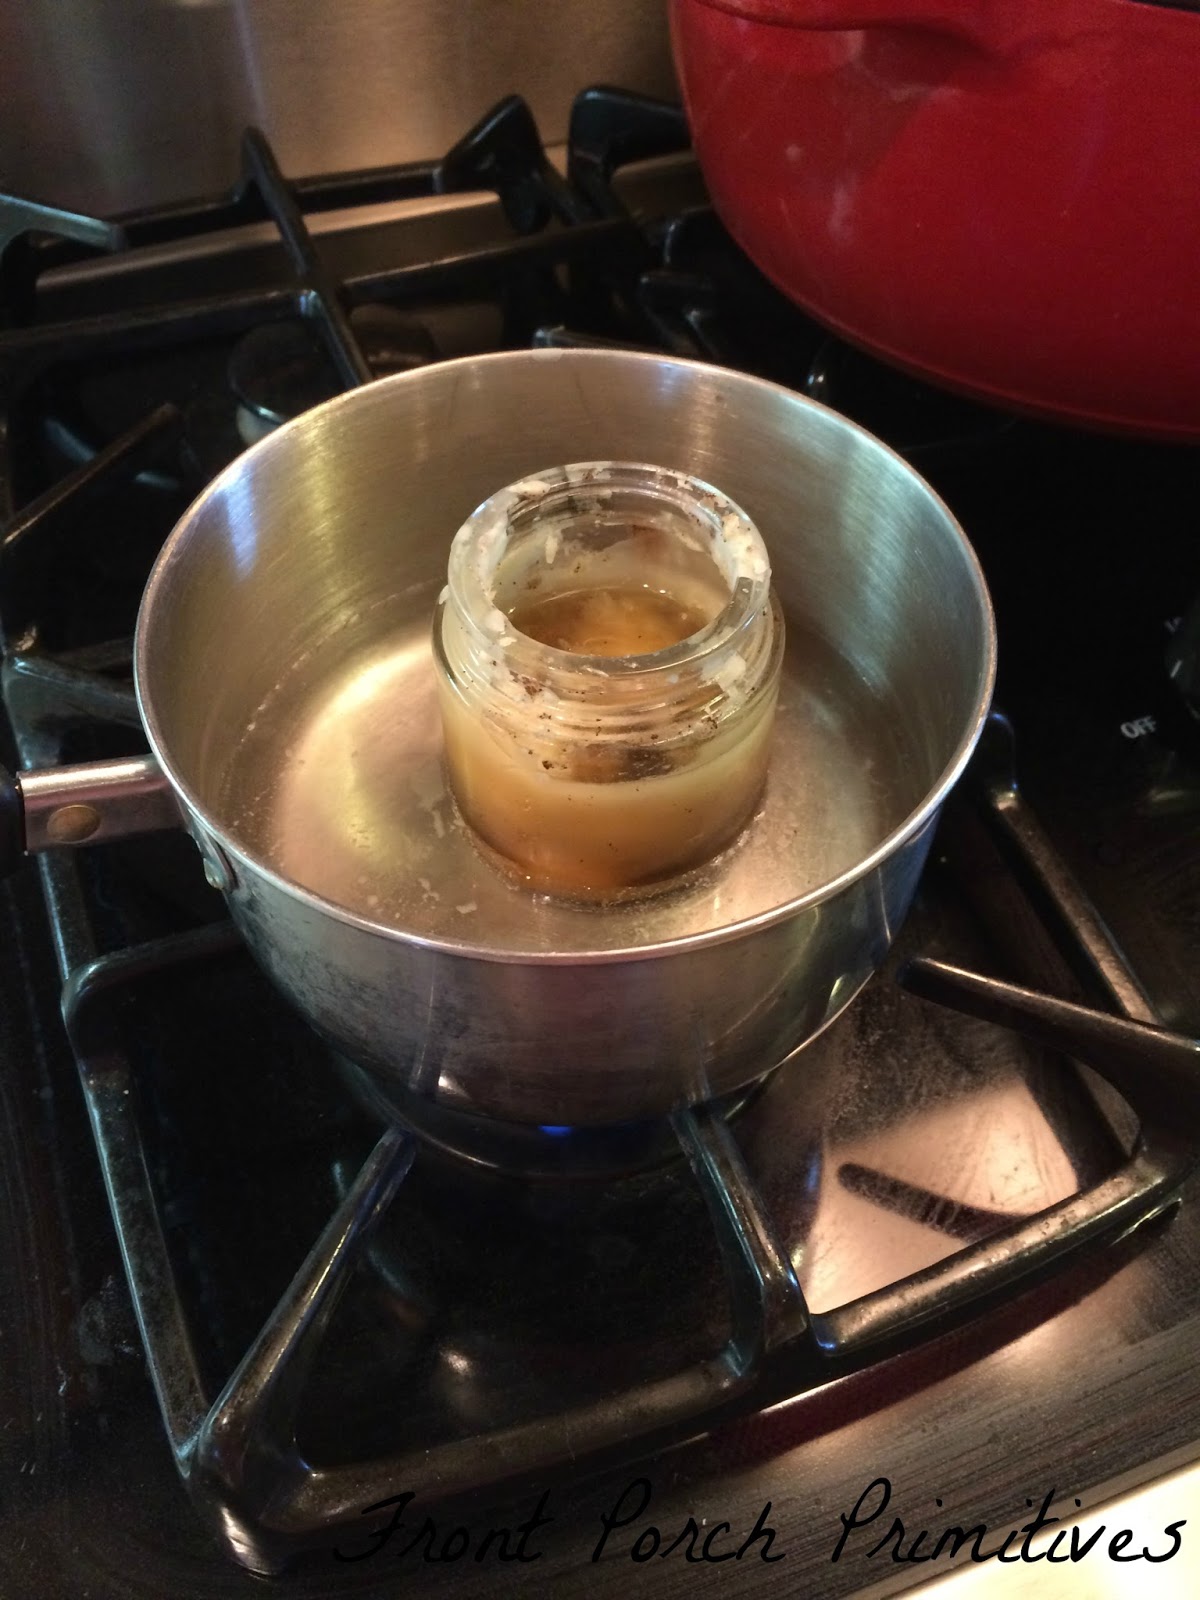
I am not patient enough to wait for hours for the wax to melt on the candle plate so if you start out with cool water and put your glass container in it to heat up all together on med low the glass won't crack. It only took 15 minutes to melt with a very slight simmer.
Take a toothpick and insert the end of it into an egg then quickly submerge it fully into the melted wax. Hurry and get it out or the egg will fill up inside with the wax.

You are not going to get great results in covering the egg unless you have a ton of cloves in your dish. I was trying to be conservative because I only had a small bottle of it. If you can, get a big bottle of cloves and make it pretty deep in the the dish and it will be so much easier for you. Working quickly before the wax sets cover as much of the egg as you can. I found that I actually needed to pick of the cloves and push them in and onto the egg. It was more like molding it how I wanted it to look. Some areas needed more while some needed less.
*Note: If you're thinking of filling up a ziplock back with the cloves and then dropping the egg into it for a good shaking like you do your chicken, don't do it. It does not work. The wax sticks to the insides of the bag and the cloves clump up.....big mess.
*Note: If you're thinking of filling up a ziplock back with the cloves and then dropping the egg into it for a good shaking like you do your chicken, don't do it. It does not work. The wax sticks to the insides of the bag and the cloves clump up.....big mess.

Sometimes wax will drip into the cloves and set. It makes it nearly impossible to cover the egg or pick the cloves to push them on if there are chunks in it. Just fine sieve them out and throw them back into the hot melted wax. If you melted your wax via stovetop and find it is setting while your working, then put the container back in the hot water for a few minutes.

By this time your workspace and hands will be a complete mess, you might be wondering what the heeeell you are doing, and your eggs might be very ugly. Just stick with it and keep creating. There will be parts of your egg that need re waxing because it set before you got spices on it. Just take a cotton swap and transfer melted wax to the spots you need to cover. Keep adding wax and covering spaces until it looks how you want it to.

The last step is to brush off all the existing spices that are not set into the wax.

See, they really will be o.k.. Once you get them in a proper setting I think they look just fine.
Good luck!
1 comment:
Love the tutorial. Melissa @ Country Thyme Junction
Post a Comment